So I figured I would post another DIY project tonight seeing as I have been on such a long hiatus!!! So here is a Wedding DIY project! This one is rather simple!
Having a candy bar at a wedding reception was a cool idea and something that my husband and I did since I love candy so much! Instead of getting candy bags professionally made by someone else, and spending a ton of money, I decided I would make my own and save a buck! It was rather simple, but a tad time-consuming. I now know why people get these things done by someone else. Anyway, let's get started!
Things you will need:
- un-cut label sheets (I had this sticker paper from awhile ago and just used it. I don't think it is supposed to be used for labels. It doesn't have any pre-cut borders etc).
- printer and ink
-scissors
-pencil
-fine point sharpie
-computer
Step 1:
Using your computer, go into Microsoft Word or a similar program and create a sheet of labels. You might have to download a template if you can't find what you are looking for. I had to do this using Open Office.
 Step 2:
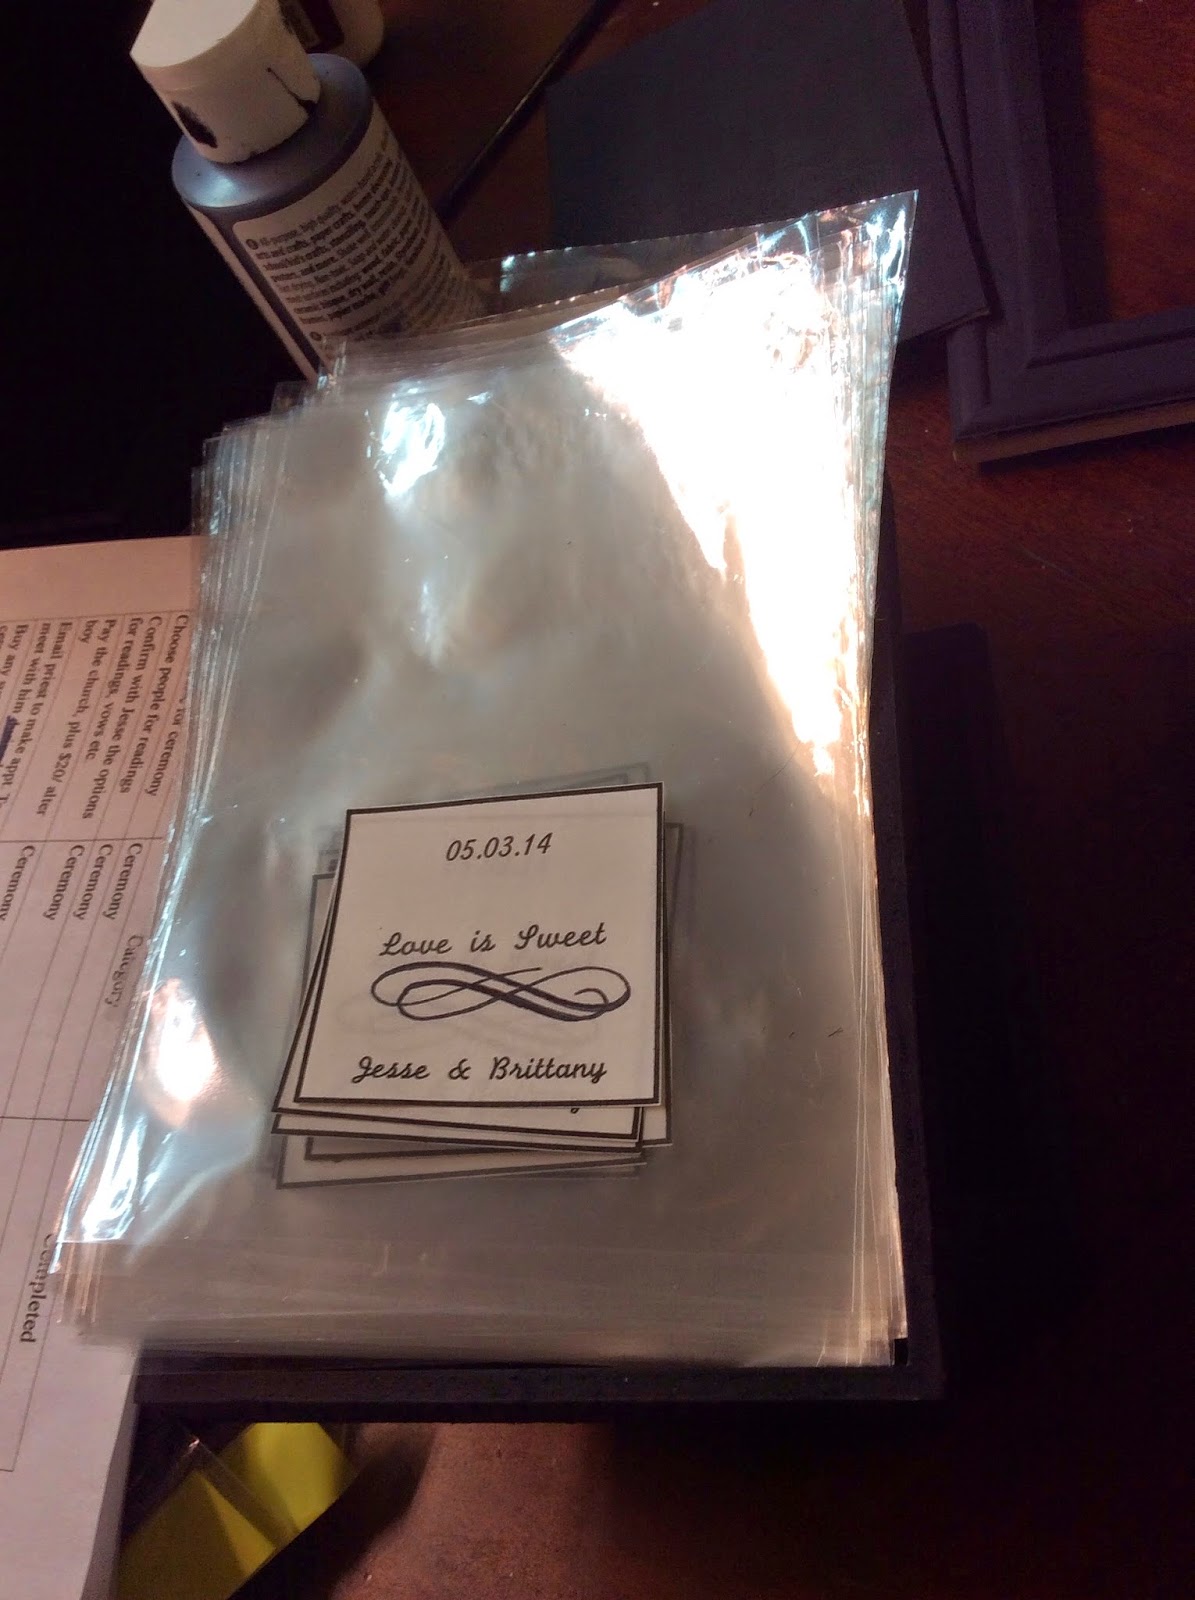
Once you have chosen the look you want, play around with it. Add a thick border, put your names or initial or whatever you want it to say. For the candy labels (see the picture to the right), we put our names, a saying "Love is Sweet!" and the day we got married. It's up to you, and how you want them to look. I wanted them to be simple yet classy.
Step 3:
 Since I'm not computer savvy, I don't know how to make fancy designs on the labels. So I got the nice design on underneath "Love is Sweet!" by tracing a line design off my computer. The sticker paper isn't suitable for tracing so you might need to get a piece of scrap paper and use that to trace. If you rub the back with pencil lead and then just use it as a transfer onto the stickers, it should work. Once all your labels have the transfer on them, go over the transfer with a fine-point sharpie pen. Try to do it with a steady hand. I would suggest a design that isn't too elaborate.
Step 4:
Now, very carefully, cut out each label. Cut outside the black border you put around each label. It makes it was easier to cut them out because it gives you a guide to look at while cutting. Try to cut as close as the outside of the black border as possible.
Step 5:
Once they are cut out, centre it on the bag. Then peel the backing off and stick it on. Do this for the rest and you have your own personalized candy bags!
I hope you guys enjoyed this DIY project. You don't have to do this for candy bags. You can do this for lunch bags, binders, books etc. The sky is the limit! Happy Crafting! xo