Things you need:

-scrapbook paper of your choice (2 different colors or prints)
-a traced cut-out of your initial
-tape
Step 1:
Find a template of your initial you like and either print it out or trace it. Since I didn't have any computer paper at the time, I traced mine using a piece of sketchpad paper and my computer screen. I suggest it would be easier to use the printer. Make it the size and font (I used Arial in size 46) you want. It depends on how big your frame is. Trace it (or print). Once you have done that, cut out your template carefully.
Step 2:
Once you have your template, pick your scrapbook pages and cut them so you have two pieces that fit inside your frame. Choose one to be the background. They other will be your initial. You can play around with it as well to see which you prefer. Get creative! Once you have decided, tape your template to the piece of scrapbook paper you want as your initial. Remember to tape it to the front with the color or pattern, not to the white or plain back of the paper.
Step 3:
Once you have taped it to the designated piece, lightly trace around it. If you are using a piece that will show the pencil marks, carefully cut around the template instead of tracing around it. the pieces I used were dark and pencil showed up so I just cut around the template instead.
Step 4:
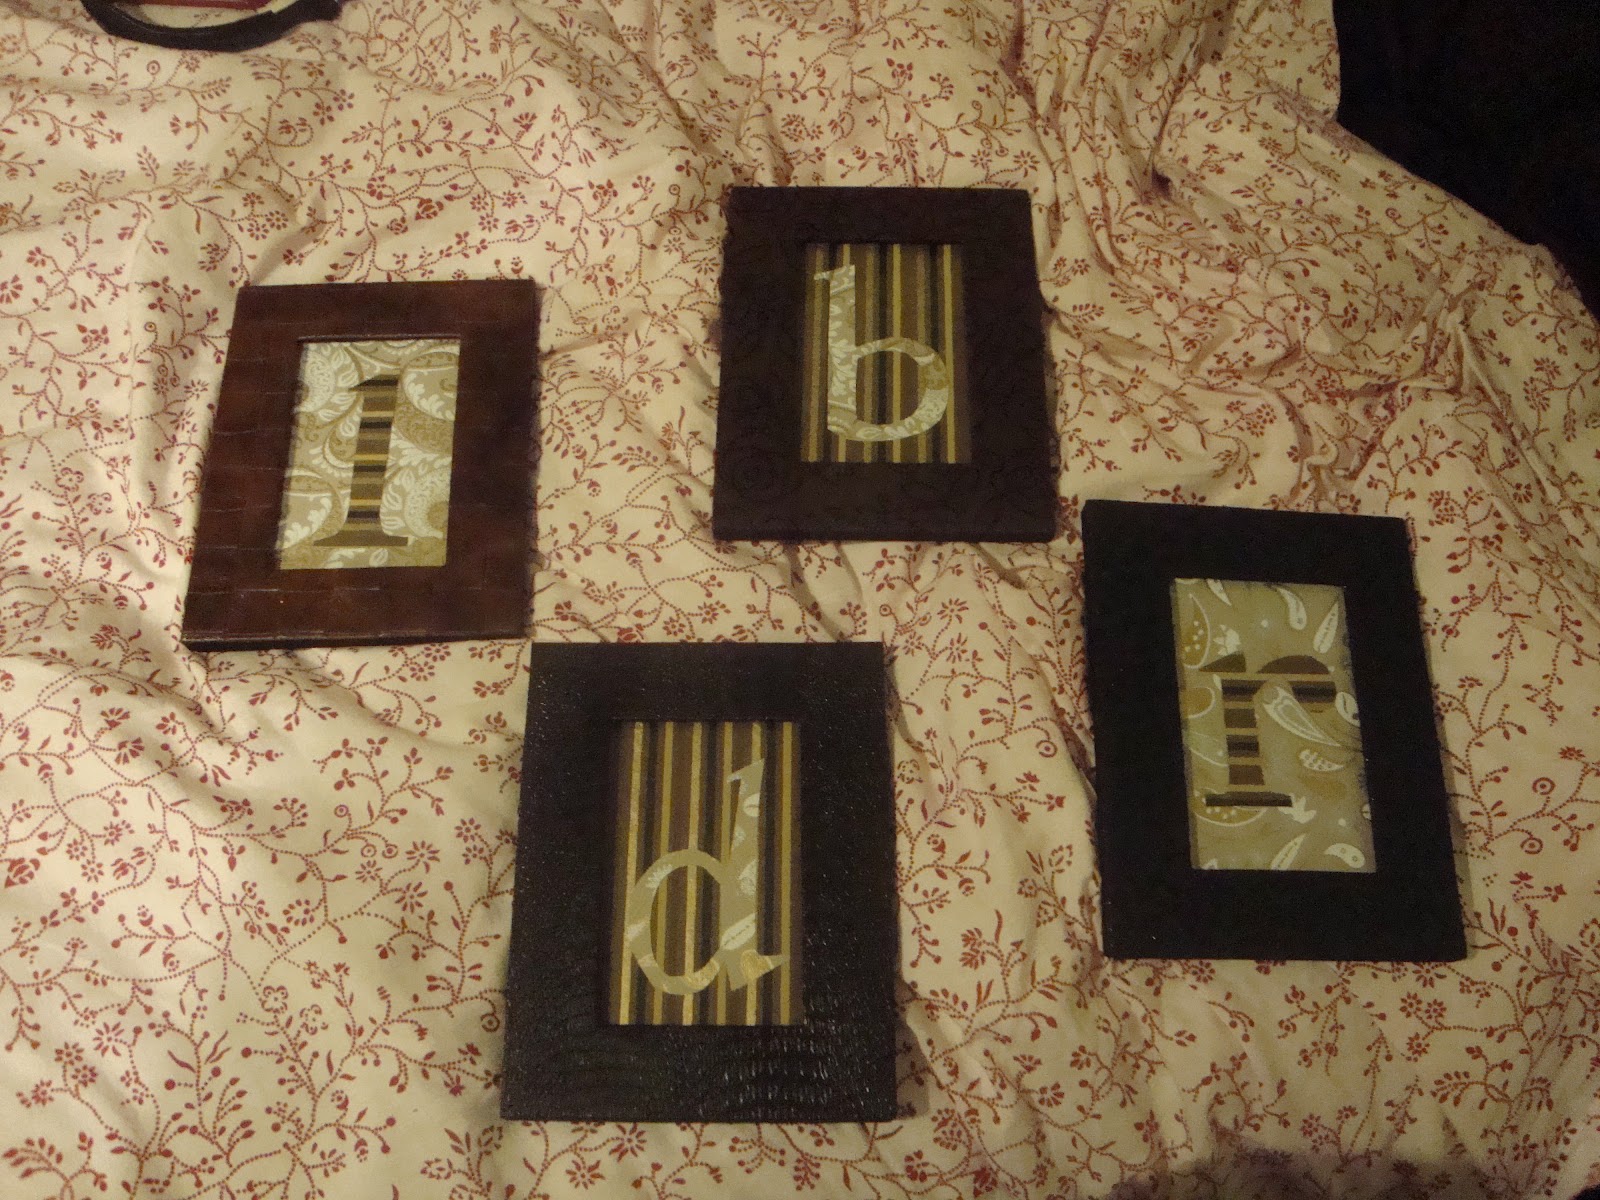
Hope you all enjoyed this craft. It's a neat and easy way to personalize a bedroom or a space in a home. I made mine for my old roommates I had before moving in solely with my boyfriend. They are some of my best friends and I really wanted to do something nice for them. So I got even more creative and made it so that all for frames are linked somehow. This is so that no matter where we go in life, we will always take each other with us. They make great little gifts! Happy Crafting!
No comments:
Post a Comment