 Hey Everyone!
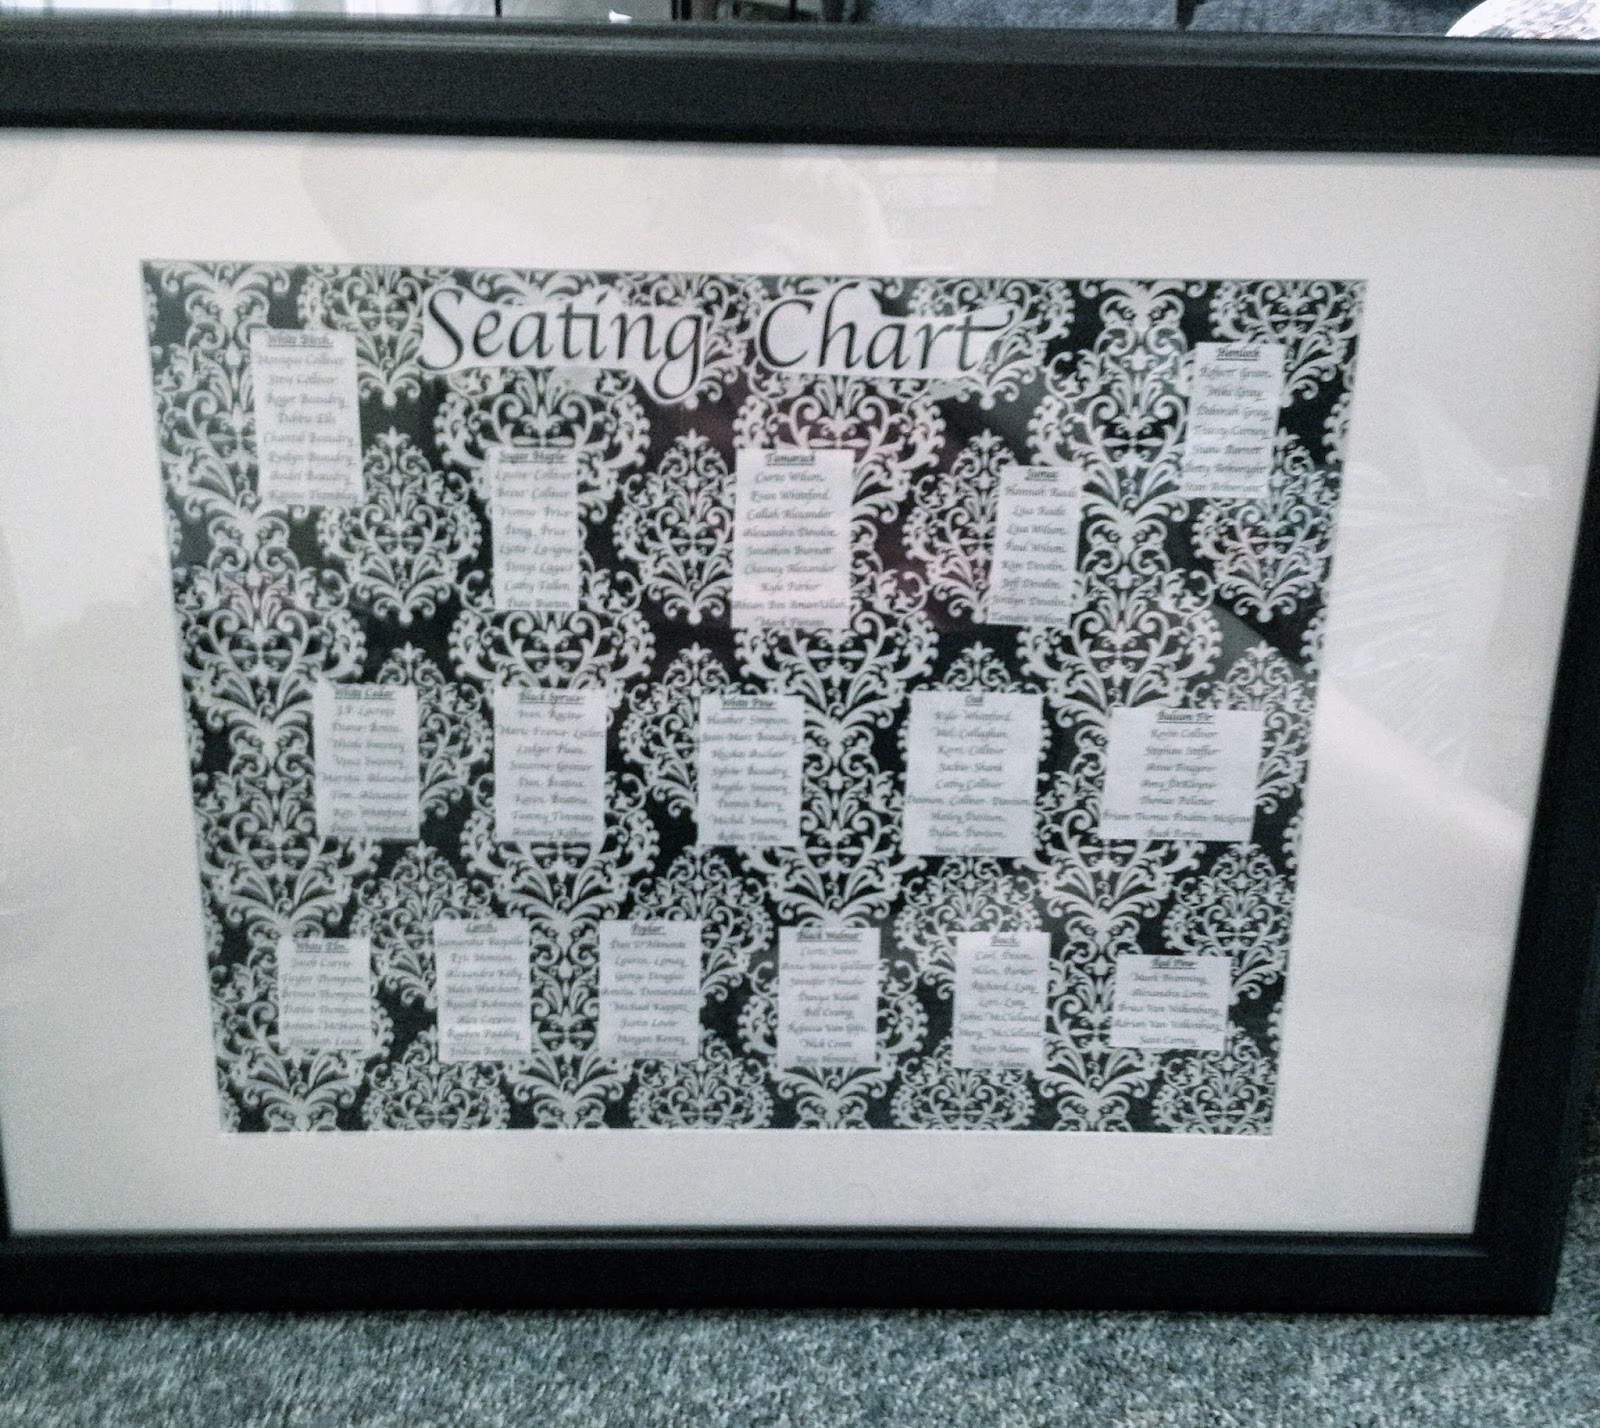
Hope you all are having a great Wednesday afternoon! Today, I've got an easy DIY for those of you who are getting married! As you all may know, I got married a few months back so I thought I would share with you how I made my seating chart for the reception. You will only need a few things, it's that easy! Let's get started!
Things You Need:
-Picture frame
-Wrapping paper
-White Computer paper
-Computer/Laptop
-Printer
-Scissors
-Tape or Glue Stick
Step 1:
Buy a picture frame. I bought mine at Ikea for $20 (I think, I can't remember). Also buy some wrapping paper in your wedding colours. I found this at Michael's in the $1.50 bins.
Step 2:
Take the back off the frame. Take the fake picture out and use this as a guide for how big to make the wrapping paper background. I attached the fake picture that comes in the frame to my wrapping paper. Cut off the excess.
Step 3:
Next, take your computer/laptop and open a Microsoft Office (or the equivalent - I used Libre Office) and make your page landscape. Then format the page so that there is three columns. I chose a font similar to Brush Script and I centred everything. You will need to play around with until you get it exactly how you want it.
Step 4:
Once you have got it how you want it, print the page(s) out and cut them out as straight as you can. Then tape or paste them down. I found the easiest way to make sure it ended up centred in your frame was to take the border out of the frame and set it on top of wall paper. This allows you to see the area you have to work with. If you are doing a "Seating Chart" title, be sure to leave some space.
Step 5:
Once you have everything where you want it and glued down, go back to your computer and using the same font, type the words Seating Chart. Print it out and then cut it out. Glue it down in the space that you left. Put the border back in the frame. Then the wrapping paper and then the back of the frame. Once it is all back together, you are finished!
And there you have it! Pretty Simple eh? I hope you have enjoyed this Wedding DIY. If you are interested in other Wedding DIY's, be sure to check out my other Wedding DIY posts. And be sure to go over to The Britt Report to see more of my daily life and what I've been up to lately! Happy Crafting! xoxo
No comments:
Post a Comment